Showing posts with label home projects. Show all posts

Wednesday, September 4, 2013

kitchen knobs makeover

We all know that a little paint goes a long way, and since I can't replace the counters on my own yet - those REALLY need to go - I decided to do something more simple to get the makeover underway again. 


The house came with brushed nickel knobs on all the cabinets. They look great, but I wanted to spruce them up a bit. I've seen some great photos of white cabinetry with shiny black knobs, which is why I decided it would be a great look in our kitchen. Nevermind the navy, laminate counters - again, those need to go. I felt the black was good for the long term.

So, I unscrewed the nearly 25 knobs/handles and got started by cleaning them off a bit. And the drawers... ew.


Anyway, I used Hammered Black spray paint by Rustoleum. It has a cool texture too it, which brings it to another level of sleek.


Like it? Because I do. 

Here's what the cabinets look like now with the freshly painted knobs:


Ah, another project checked off. Feels good... again. And now, I'm already starting more kitchen projects that weren't on my list this week (like painting the pantry doors and picking out wall colors) ... it's like a disease! 

Tuesday, September 3, 2013

hangin' around: the gallery wall is UP

Finally. The gallery wall is up! 

Over the last several weeks (or even months) I've collected miscellaneous items to include in the gallery wall for our re-done living room. Before the living room's transformation, the "gallery" was mostly full of pictures and random hanging items we had accumulated. However, I wanted it to be full of more "art" than photos this time around. 

To hang them all accurately, it took some measuring, pre-planning and a little toothpaste. Yes, toothpaste. I first measured the area. Apparently, you shouldn't hang items more than seven feet from the ground. Who knew? So, that's what I went with. It ended up being perfect height given the window's height. 


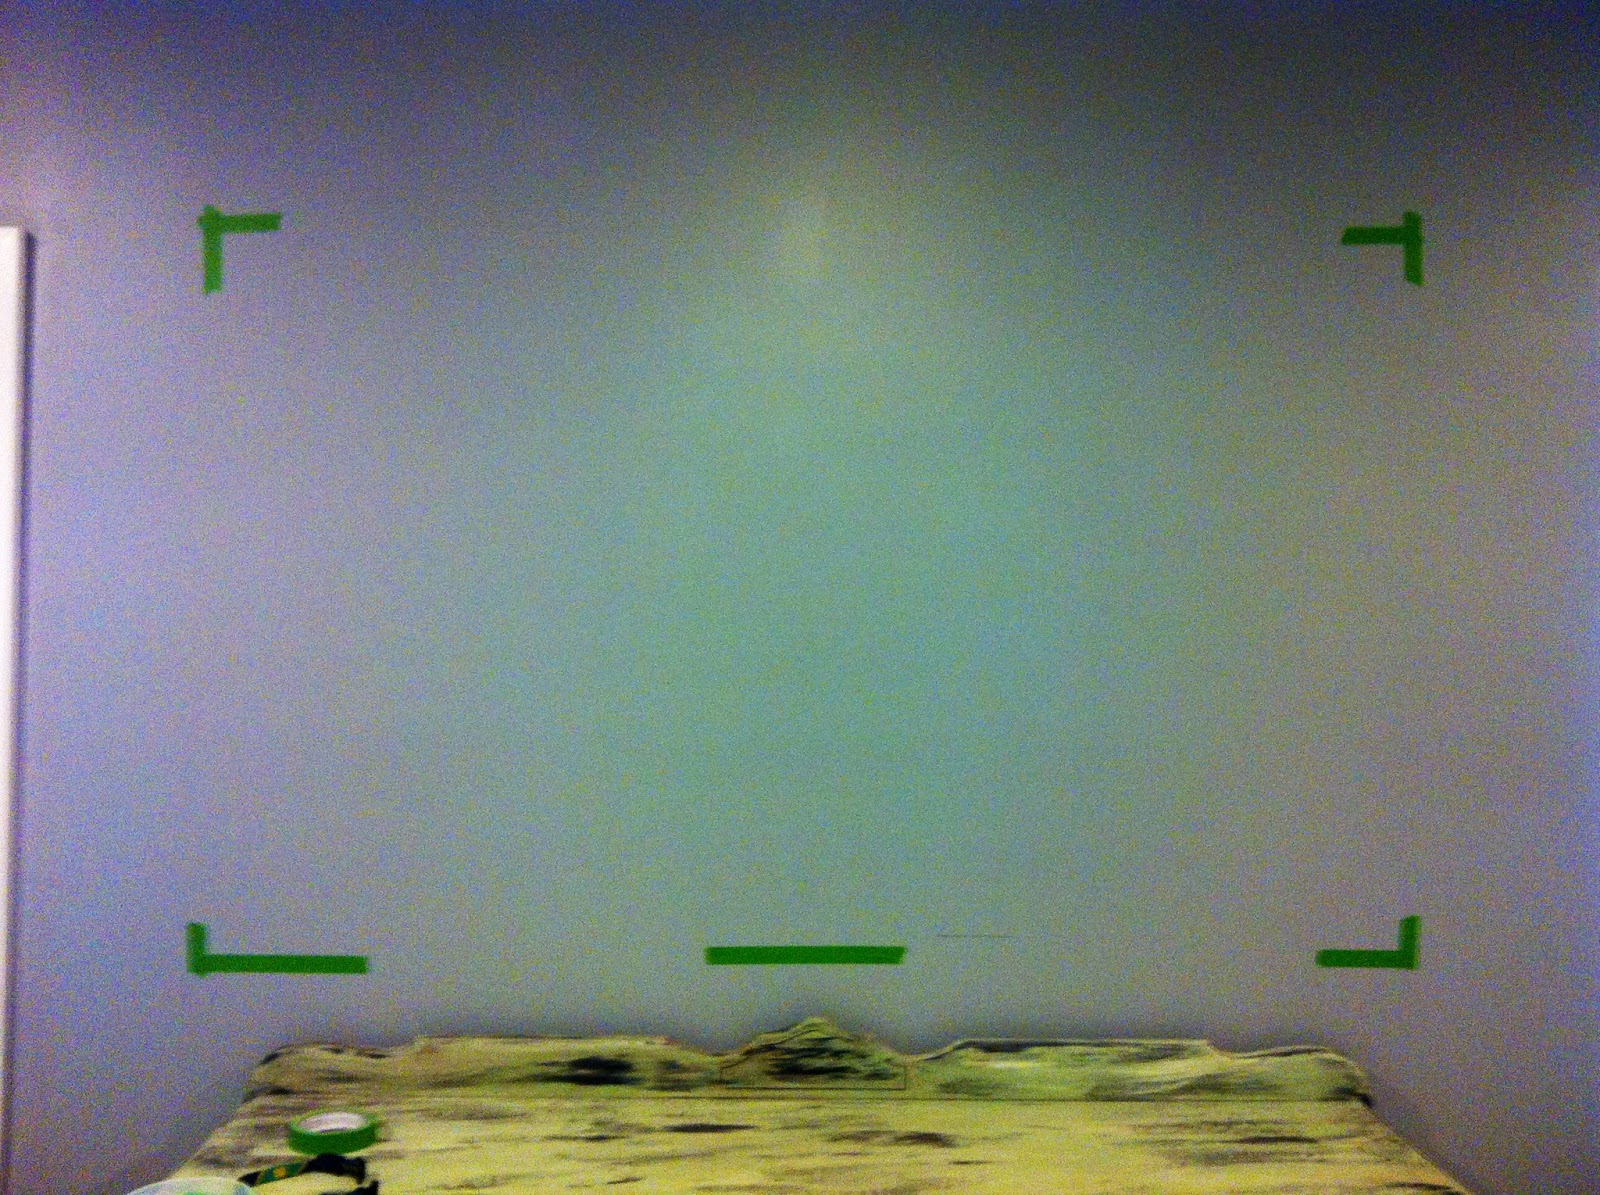
Once I measured the height and width (to go just beyond the buffet's width), I taped it off in the floor and started placing. After a few trial and error placements, I decided on my plan.


And then I went to work. The toothpaste came in when I needed to figure out just where to hammer the nails. I put just a dab of it on the back of each frame/item before pressing it onto the wall where it was meant to go. Nail, wipe then hang. It's easy and pretty error proof. 


So, with some old and new mixed together... here you have it (top to bottom rows). 


(1) A sign I bought at Dottie Couture Boutique, one of my favorite places to shop. Who doesn't love a good Beatles quote?
(2) This is an extra frame we had lying around that was waiting for it's place. A year or so ago we had a subscription to Papirmasse, which sends various artist's prints each month. This was one of my faves.
(3) This is the pillow to art DIY project I did a few weeks ago.
(4) Found on Pinterest, I made this framed map and key art awhile back. It was featured on our previous gallery wall, too.
(5) My mom sent me this little notecard earlier this year, which features a drawing of our cabin on the front. Since that's one of our happy places, I thought it was the perfect addition. 
(6) There are no words for this one. While it is a photo, it's also art. The Sample Gates at Indiana University are as beautiful as it gets!
(7) Each time we visit my Grandma's in Wisconsin, we always look through the things she has saved around the house. We found this print - of a church in Boston - and snagged it right away knowing it'd be perfect for the wall. 
(8) The cutting board to art DIY project here is the perfect item to mix up all the squares and rectangles up here. (Note: I'm still deciding how I want to hang this one so that it's less angled or completely straight!)
(9) My favorite quote - "The biggest victories in life are the small ones." - says it all on this piece. I made this canvas last year. It also had a home in our gallery before.
(9) This is a postcard I gave Sam earlier this year. It has a penguin on it, which is one of my favorite animals. And a cute little phrase at the bottom: "I will never waddle away from you."
(10) Thanks to my Grandma (again), we have this artwork to add in. It is a set up five, but we only hung up one. The others will eventually all be split between the kids. Vintage and very awesome.

Productivity feels so good. So do house to home projects. 

Wednesday, August 7, 2013

styling shelves

Oh, the sweet, sweet reward of nesting. 

It's been exciting through the whole process of re-doing the family room. From demolition to painting to hanging to styling... and there's still more to go! 

Here's a full shot of the new shelves and their decor all put into place: 


Before, the built-ins were cluttered with more frames, sports items, books, knick-knacks and more. This time around, though, I wanted to clear it up a bit. The living room should be a more calming space in the house.

Here's the left side close up:


It's complete with home design books, a few picture frames, a vase and a few empty bottles. Perfecto!

And, now for the left side:


My favorite part? The elephant, of course (thanks Home Goods!). This has a few knick-knack books (like Secrets of Longevity) and fashion books, as well as candles, frames and a sentimental plaque stating, "May you always be in an atmosphere of greatness." Again, perfecto!

I'm sure I'll make several changes throughout the next several weeks, months and even years. But this is a great start. My tips?

(1) Consider horizontal and vertical items when placing them on the shelf. To many of one make it look and feel imbalanced. 
(2) Mix and match items to avoid too much of one type of thing on one shelf. For example, mixing books, a statue and picture frame(s) instead of all picture frames.
(3) Stack! I love stacking books and adding something on top to give it more height. 

Next up for the living room re-do? The gallery wall of art!

Tuesday, July 16, 2013

family room re-do: floating shelves are up!

A few months ago we finally got started on a family room re-do by removing part of some built ins and adding a layer of paint. After, we also painted all the trim white to compliment the rest of the house's trim. And then, we finally checked step four off the list - hanging the new shelves! 


We were on the search for white floating shelves because we liked the idea of a clean line and no brackets showing. The width of the cabinets is 39 inches, which proved to be difficult to find. So instead we found 36-inch shelves we could center on the wall - White Big Board Shelves from The Container Store. They are made with MDF and wood veneer and all hardware was included, so we were set. 

I used the painter's tape trick to precisely mark where the holds need to go and it worked out perfectly. Definitely will be my go-to method when I want to hang things up! Once that was ready, Sam go going with the drill. 


Voila! They were up, and they were looking mighty fine. Here's a full view:


We've come a LONG way, haven't we?


Next on the list: styling them. I'm way too excited to get started! More to come.

Sunday, July 14, 2013

diy: file cabinet re-do

You know those things you grab because you'll totally use it one day. Well, I totally did that with this filing cabinet, and let's just say, it's been sitting waiting for me for eight months. Lonely in the corner. 

I found this gem in my grandma's basement. Every time we head over there, she has us look through the basement. It's nearly empty these days, but we found some fun things that we could use at home (more on that later, probably). This file cabinet had some scuffs and was a bland tan color, so to give it new life I grabbed some spray paint. Purple spray paint. HOLLER!


I cleaned it and sanded it to prep it for the first coat. It only took one can of spray paint to get full coverage all the way around. Once it was totally dry, I put a few coats of polyurethane on it to help avoid chipping and give it a somewhat glossy finish.

Sadly, I didn't put enough tape around the drawers, so I pretty much just gave up on keeping the inside the tan color. It's all uneven in there, but hey, it's the inside!

Next up, organizing all our files in it. I know that sounds lame, but I'm totally up for it. 

Sunday, July 7, 2013

junk fo' days

Somehow, someway we've accumulated so much junk around our house it's actually driving me crazy. The weird thing is that most of it wasn't actually ours - as in, former owners leftovers, hand-me-downs we never needed and so on - with the exception of the empty boxes. 

Since trash pick up is quite picky and limited, we found an alternative solution: the Bagster at Lowe's. 


You pick one up at Lowe's (near the lumber section), set it out in the driveway and fill 'er right up! We originally needed one to get rid of some branches, leaves and debris from a yard clean up.  However, the pick-up fee is one flat rate, so we took advantage of this opportunity. Seize the day, folks!

After loading a ton of debris, we went to work elsewhere. The former owners left a few trash cans behind that weren't useful to us, and they were full of stuff (sticks, trash, etc.). Those were the first to join the debris. 

The basement came next - bye, bye boxes and junk. From empty boxes to broken blinds and furniture, we filled 'er up. All the way up. (See above.)

I must say, it felt really good. I get a lot of satisfaction from decluttering and organizing. Hence Sam's response to my purging being, "That's ALL you got?!" Yes, Sam. Yes, it is... for now.


Sunday, June 2, 2013

long and lean: no-sew curtains

Several months ago I decided it was time to find new curtains for the den. When we replaced our dining room curtains, we moved those old, brown curtains into the den (left from the previous owner a few years ago). However, they were old and brown... so, just not our style. 

Long curtain panels are not cheap, so I went to Hancock Fabrics to snag some lightweight, white fabric to create a few of my own. Originally, I was going to hem them with my sewing machine, but I decided to give a different product: Heat-n-Bond (found at Michael's).


I had the fabric pre-cut to each panel's size at the store, so it made it really easy to get them all the same length and width when it came to hemming. With the Heat-n-Bond, an iron and an ironing board, I was done in just an hour or so. 

No-sew curtains in four steps:
(1) Iron the fabric, particularly the folded hemlines;
(2) place the Heat-n-Bond tape between the folded hemline;
(3) iron over the hemline, holding it for 30 seconds or so on each part; and
(4) done, done and done.

So, back to the old, brown curtains. The second bedroom (more of a den for us) is pretty small, so the dark curtains weren't exactly inviting. They also darkened the room quite a bit making it feel smaller. 


Not to mention we didn't have one for the side window, which just make it look even worse.


In addition to lightening up with the white curtains, we also hung them higher with new curtain rods. This little trick works wonders. Hanging them higher makes the room seem bigger, too. Double win. 

While we don't spend a great deal of time in there (hence, why it looks like a storage space!), this makes me so much happier. You have a clear view of the room from the living room and kitchen since we removed the door for the time being, too. So, having it a little easier on the eye was a must for me. 

Just another project that's been a long... time... coming!


Friday, April 19, 2013

calming down the living room

Our biggest project right now has several steps to it. After tearing down the built-ins and patching the wall, we were ready to give the family/living room another upgrade with a fresh coat of paint - from a not-so-mellow yellow to a calming gray ("Simple Gray" by Valspa Signature, #WV37006 at Lowe's).

Thanks to my sister and brother-in-law, we had four sets of hands to knock out the painting project. It was a tremendous help because this room is not small.

Here is a before shot (room has already been torn apart at this point) to really show the mustard yellow from the previous owners.


After our little helpers left, Sam and I finished out the ceiling portion of the room. I'd say we did a pretty nice job without using tape since we only had a few paint spots on the ceiling. We'll touch those up later.


Here is a fuller shot of the color. It lightens and darkens with natural light, which I love. When the trim turns white, the room will really pop!


Up next... priming and painting the trim! Yippee. I seriously can't contain my excitement. 


Wednesday, April 17, 2013

let there be light!

Warning: There will likely be a huge influx of home project posts coming your way! I'm not even mad about it. Sam and I are ON A ROLL.

With some wedding gift cards we bought a clearance light fixture from Macy's (Pacific Coast brand) to replace our outdated (and ugly) fixture in the dining room. Due to the fact that we aren't electricians (and perhaps, we were being too lazy), the fixture sat in its box for a solid six months collecting dust.

Perhaps the mold issue was a blessing in disguise? The contractor we hired to patch our moldy drywall in the family room was able to install the light while he was here, which really brightened up my day (get it?)!


From drab to fab, if you will. The new light not only looks better cosmetically, it also gives up much brighter light. The light covers are more white than cream (like the previous), so it totally transforms the room. 

With that, I say... let there be light!

Tuesday, April 9, 2013

bye bye built-ins!

Maybe it's the nice weather, but we have FINALLY taken on another big home project. I've had an idea to paint the family room for months now, but just haven't gotten to that yet. And then, it happened. Sam shared an amazing idea.

The amazing idea means waiting longer on the painting fiesta, but I'm OK with that because it was... errr, an AMAZING idea. We have (or should I say had?) large built-ins in our family room that took up an entire wall and were bulky in size.

Family room built-ins before...
Even with the room being quite large, the built-ins always felt like a little too much. My plan originally was to just paint them and all the trim white to match the rest of the house (and ultimately brighten the space), but instead, we're going one step further by removing the top of them.

We love the storage the bottom cabinets offer, and we also love the window seat, so we kept the part we liked and said goodbye to the rest. We skipped purchasing an expensive tool and just hand-sawed each side off. While it wasn't the easiest approach, it worked just fine. Sam sawed, and I held the pieces to help keep them from moving around (again, it was cheap wood AND poorly put together, so it could be done without a fancy tool).


So, without further ado ... bye bye built-ins!

Built-ins no more!
You'll notice some deconstruction on the left wall there. We ran into a mold issue. Yikes!

At one point some water got trapped between the built-ins and the drywall. It obviously wasn't ideal, but I'm glad we found it. It was only behind the wood, so we would have never known otherwise. It hadn't gotten through the drywall or into the floor, so that was a sigh of relief.

Sam and his dad cut out the wall with the mold, and we're going to have a professional fix the drywall this week. Cannot wait to close that back up! Once the wall is done we can move on to our next step, which is painting the walls, the remaining built-ins and the room's trim. Following a good paint job, we'll add floating shelves to replace the bulky top of the built-ins.

One step at a time. More to come on this room transformation!


Wednesday, March 27, 2013

the most beautiful buffet

The search is finally off! We've been looking out for a beautiful buffet to fill a void in our family room for quite some time. After a few years of constantly circulating various pieces of furniture in and out of the space, we found love in a little boutique in Bloomington. 


Isn't she a beaut?! This vintage buffet came from Lola Rue in Bloomington, Ind. (friend/follow here in Facebook). We had loved and lost a few great pieces from several different stores or sellers, so we learned that if we loved it, we better jump on it... QUICK! It's just the right size (nearly twice the size of a mini desk we had in the space just before) to maximize the space and stay proportionate to the large family room. 

Now that it's in place, I have some serious inspiration to make more changes in the room. Up next, a new wall paint color. We're going with a simply gray color. In addition, the trim is going white to match the rest of the house. Another project for our built ins is also in the pipeline. When that stuff is complete, I'll be ecstatic to share. This room has been on my list of upgrades for awhile now. 

So excited and so inspired! Stand by, friends.